
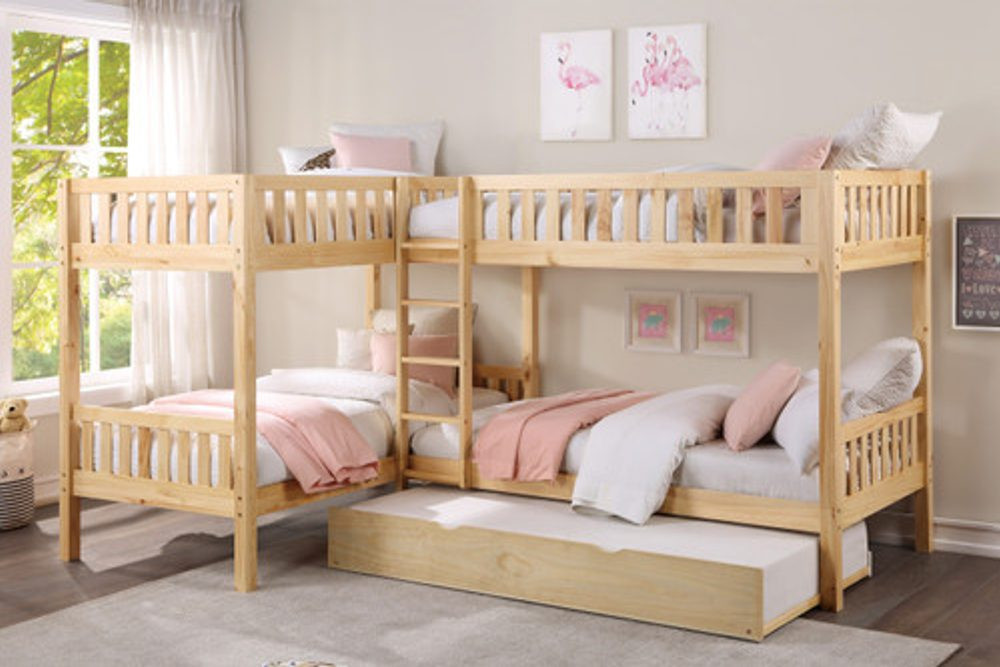
A Step-by-Step Guide On How To Put Bunk Beds Together
Posted by Posted by Just Bunk Beds on Jul 10th 2026
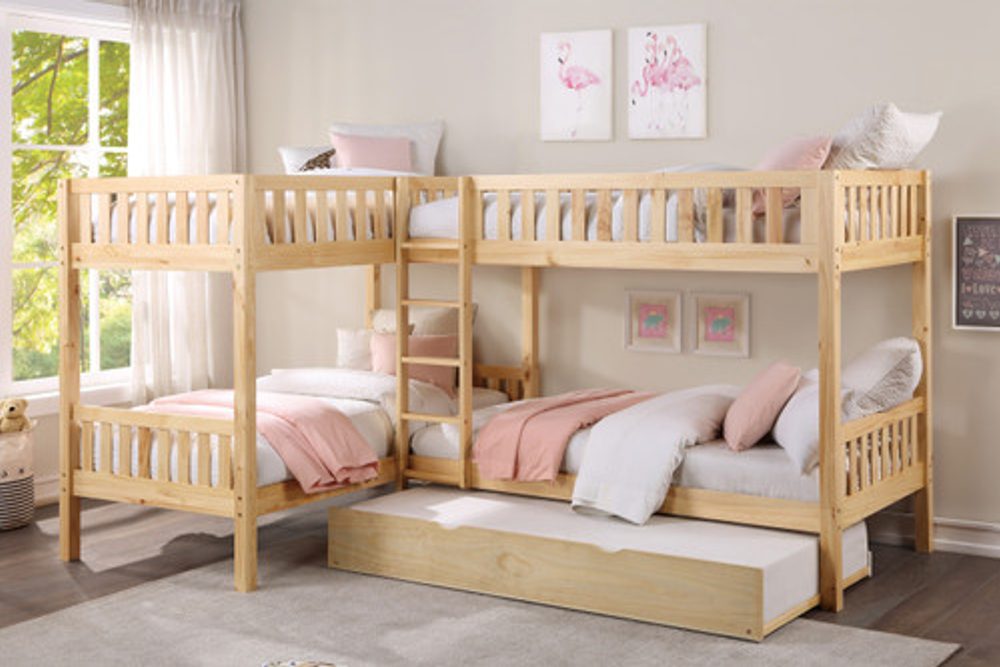
Quick Summary
Putting a bunk bed together goes smoothly when the process is broken into clear stages: building the headboard and footboard, assembling the lower frame, adding the upper bunk with a second person for support, securing the guardrails, and finally attaching the ladder or stairs. Loft beds follow the same sequence without the lower frame, so extra care on the corner posts and guardrails matters even more. A final shake test before use catches any loose bolts. With the right tools and a little patience, most adult bunk frames can be fully assembled within an afternoon.
Assembling a new bed frame can feel intimidating, especially with a larger, multi-piece unit. Knowing exactly how to put bunk beds together before you begin makes the process far smoother, and most of our customers finish assembly in an afternoon once they understand the sequence. This guide walks through each stage, from unpacking to the final safety check, so you can set up your new frame with confidence.
Before You Start
Unpack every box in a clear, open area and lay the pieces out so you can see what you are working with. Compare the contents against the packing list included with your order. Missing or damaged parts happen occasionally, and catching them before you start assembly saves a lot of backtracking.
After you have purchased an adult bunk bed, taking a few extra minutes to confirm that every structural component and hardware piece is included helps ensure a safe and stable installation. At Just Bunk Beds, our customer support team is always available if a part turns out to be missing, so do not hesitate to reach out early rather than trying to improvise a fix.
Gather your tools before you begin. Most of our frames include the hex key or Allen wrench needed for assembly, but having a power drill with the correct bit, a rubber mallet, and a second set of hands will make the job considerably faster and safer, particularly when lifting the upper bunk into place.
Step 1: Build the Headboards and Footboards
Start with the headboard and footboard panels for both the lower and upper bunks. Attach the side rails using the provided bolts, tightening them by hand first before going back through with a wrench to fully secure each connection. Do not fully tighten any single bolt until all the panels for that section are loosely connected, since this makes final adjustments much easier.
Step 2: Assemble the Lower Bunk Frame
Once the headboard and footboard are connected, add the center support rail if your model includes one. This rail is essential for supporting the mattress and preventing sagging over time, so do not skip it even if the bed appears sturdy without it. Slide the mattress support slats into place according to the included diagram.
Step 3: Assemble the Upper Bunk Frame
The upper bunk follows a similar process to the lower one, but this stage typically requires two people. Lifting a partially assembled frame into position alone increases the risk of dropped hardware or a pinched finger, so plan to have help on hand for this part. Secure the corner posts connecting the top bunk to the bottom frame, checking that everything sits level before tightening the final bolts.
Step 4: Attach the Guardrails
Guardrails are a critical safety feature on the top bunk and should never be left off, even temporarily. Attach them along the open sides of the upper mattress, making sure each bracket is fully tightened. When you are setting up loft beds for adults, the same guardrail principle applies, since the elevated sleeping surface calls for the same secure attachment points.
Step 5: Install the Ladder or Stairs
Depending on your configuration, attach the ladder or staircase last, once the rest of the frame is fully assembled and stable. Double-check that hooks or brackets are seated correctly and that the ladder does not wobble when weight is applied. Our twin XL bunk beds for adults and similarly sized frames are designed so the ladder locks securely into place with minimal adjustment needed.
How to Put a Loft Bed Together
The process for how to put a loft bed together follows the same core steps as a standard bunk, minus the lower bed frame. Because loft beds place the entire sleeping surface higher off the ground, pay extra attention to the corner post connections and guardrail security, since there is no lower bunk to reduce the fall distance.
Final Safety Check
Once assembly is complete, check the bed for movement and verify that all required bolts, connections, guardrails, slats and ladder or stair components are properly secured. This is also a good time to review our safety guide for additional tips on maintaining your bunk bed over time.
If you run into a step that is not covered in your included instructions, or if a part seems to be missing, do not force a fix. For model-specific assistance, customers can contact Just Bunk Beds at Contact us
Just Bunk Beds stands behind every frame we sell, and our full bunk beds for adults and twin over full bunk beds for adults collections all come with clear, illustrated instructions to make assembly as painless as possible.
FAQs
How long does it take to put a bunk bed together?
Most customers complete assembly in two to four hours, depending on the configuration and whether stairs or a ladder are included.
Do I need a second person to assemble a bunk bed?
Yes, we recommend having a helper for lifting and aligning the upper bunk frame, since doing it alone increases the risk of dropped hardware.
What tools do I need to assemble a bunk bed?
A hex key or Allen wrench is usually included, but a power drill, rubber mallet, and a level make the process faster and more precise.
Is assembling a loft bed different from a standard bunk bed?
The steps are similar, though loft beds skip the lower frame and require extra attention to the corner posts and guardrails given the added height.
What should I do if a part is missing from my bunk bed?
Contact our customer support team right away with your order details, and we will get the correct part shipped out to you.