Categories
Categories
Bunk Bed Assembly Made Easy: Step-by-Step Guide and Tips
Posted by on
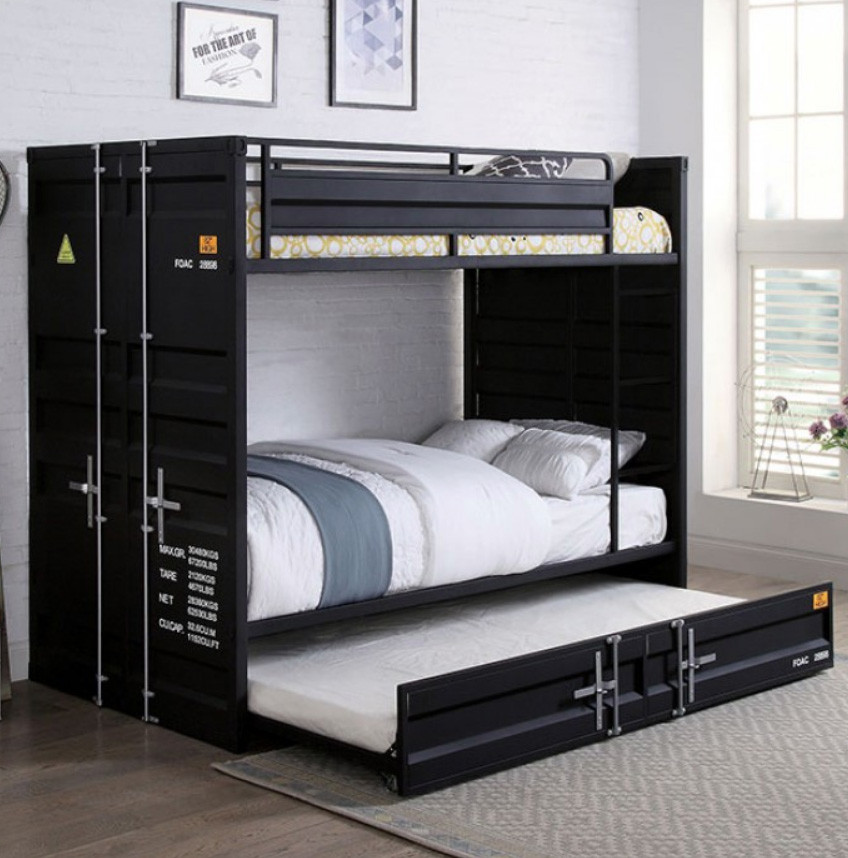
Assembling a bunk bed can be much more than just a weekend DIY project. It's an opportunity to create a comfortable and safe sleeping space, whether for your children, guests, or even in a vacation home. In this guide, we break down the assembly process into simple, easy-to-follow steps, ensuring you have all the information needed to construct a bunk bed that is both sturdy and stylish.
Step 1: Preparing for Assembly
Nothing is more frustrating than getting halfway through an assembly project and realizing that you forgot a crucial tool or piece of hardware. To avoid this, it's important to prepare all necessary tools and materials before beginning the assembly process.
Gathering Tools and Parts
Kick off your project by gathering all the essential tools. Typically, you'll need:
- A tape measure for accurate measurements
- A screwdriver for tightening screws
- A drill for making assembly quicker and easier
- A hammer or an Allen wrench for specific types of fasteners.
Next, lay out all the components of your bunk bed kit. These can include a variety of pieces like rails for the bed's framework, slats for mattress support, and a collection of bolts, nuts, and screws to hold everything together securely.
It's crucial to have all these parts on hand before you begin. This way, you can avoid the interruption of discovering a missing piece midway through the assembly. If your bunk bed kit comes with a tool list, use it to cross-check and ensure you have every tool needed for the job.
Reading the Instructions
While it might be tempting to dive right into the assembly, taking the time to understand the manufacturer's guidance can save time and confusion later on. The instructions will not only outline the tools and parts you need but also the correct order of assembly steps. This is where you get a clear picture of the assembly process, including any specific techniques or precautions to be aware of. Please familiarize yourself with the different parts and how they fit together, and pay special attention to any warnings or tips that can aid in a smoother assembly process.
Inspecting for Damage
A crucial yet often overlooked step is inspecting each part for potential damage. This is an important aspect of ensuring the safety and longevity of your bunk bed. Carefully examine each component for cracks, bends, or any form of damage that could affect the stability and safety of the bed. Damaged or faulty components can significantly compromise the integrity of the bed, posing risks to users.
If you do find any damaged or missing parts, it’s important to pause and contact the manufacturer for replacements before proceeding with the assembly. This may seem like a delay, but ensuring that all parts are in perfect condition is key to building a bunk bed that’s safe, sturdy, and durable.
Step 2: Constructing the Initial Framework
The process of assembling your bunk bed begins with constructing its foundational structure. This initial phase is about building the basic frame that forms the backbone of your children's or adult bunk bed, supporting every other component that comes after.
In this step, the spotlight is on attaching the lower spacers to the legs of the end frames. While this task may seem straightforward, its importance cannot be overstated. The lower spacers are key to the stability and integrity of the bunk bed. They need to be aligned with precision and securely fastened using screws. It's a meticulous process where each spacer must be positioned evenly, ensuring they provide balanced support across the entire structure.
The correct installation of these spacers is crucial because they bear the weight of the entire bunk bed. Any misalignment or loose fittings at this stage can lead to stability issues later on. So, take your time to double-check that each spacer is perfectly aligned and firmly attached
Step 3: Building and Installing the Ladder
The third step in your bunk bed assembly is crucial - building and installing the ladder. This component is more than just a functional piece; it is a vital safety feature, providing safe and easy access to the top bunk.
Marking and Assembling the Ladder
Begin this step by carefully marking the positions for the ladder rungs on the ladder legs. Accuracy is key here; ensure that the rungs are evenly spaced and correctly aligned to prevent any imbalance or missteps when the ladder is in use. After marking, proceed to assemble the ladder. This involves attaching the rungs to the ladder legs using screws.
While doing this, it's essential to ensure that the ladder is not only well-constructed but also sturdy enough to safely bear the weight of those who will use it.
Attaching the Ladder to the Frame
With the ladder assembled, the next step is to attach it to the bed frame securely. This is a critical phase where safety takes precedence. The ladder must be stable, not prone to wobbling or bending under weight, and should be perfectly aligned with the bed frame.
When securing the ladder, make sure all screws and bolts are tightened to the right degree. This ensures a firm attachment, yet be cautious not to over-tighten, as this could strip the threads or damage the material. The ladder should integrate seamlessly with the bed, offering a safe and stable means of accessing the top bunk.
Step 4: Installing and Securing Mattress Frames
With the basic frame of your bunk bed now in place, Step 4 shifts the focus to the crucial task of installing the mattress frames. This phase ensures that the sleeping surfaces of your bunk bed are secure, stable, and ready for use.
Installing the Lower Mattress Frame
Begin this step by positioning the lower mattress frame onto the previously attached lower spacers. It’s important to align this frame carefully and secure it firmly with screws. Ensuring that it sits evenly on the spacers is key, as any imbalance could lead to discomfort or stability issues later. This frame serves as the base for the mattress, and its proper installation is vital for the bed's overall functionality.
Adding Middle and Top Mattress Frames
Next, turn your attention to the upper bunk. This involves first adding middle spacers on top of the lower mattress frame. These spacers are crucial in providing the necessary clearance and support for the top mattress frame. After placing these spacers, carefully position the top mattress frame on them, fastening it securely.
It’s essential to ensure that the upper bunk is as stable and well-supported as the lower one. The even and secure installation of these frames contributes significantly to the safety and comfort of the bunk bed.
Step 5: Adding Safety Features
When it comes to assembling bunk beds, prioritizing safety is non-negotiable, especially if the beds are intended for children. This step is all about adding and securing safety features that are crucial to preventing accidents.
The installation of safety rails on both the upper and lower bunks is a key component of this step. These rails are designed to act as barriers that minimize the risk of falls, particularly from the top bunk. When attaching the safety rails, it's essential to ensure they are fastened securely to the bed frame. Every screw and bolt should be checked for tightness to avoid any wobbling or instability.
Additionally, it's important to verify that the rails are of adequate height. They should be tall enough to provide effective containment, especially considering the thickness of the mattresses. The rails must be high enough to prevent anyone, especially a child, from rolling over them.
Step 6: Final Safety Checks
As you near the completion of your bunk bed assembly, it's time for the most critical step: conducting a thorough safety check. This final review is essential to ensure that the bed is not only assembled but also safe for use. Here's a checklist to guide you through this important process:
1. Tightness of Screws and Bolts: Go over each joint and connection point. Ensure that all screws and bolts are tightened securely. Loose fittings can lead to instability and potential accidents.
2. Smoothness of Surfaces: Feel along all surfaces, edges, and corners. Your objective is to check for any sharp edges or protruding screws that could cause injury. Everything should be smooth to the touch.
3. Stability of the Bed: Gently shake the bed to test its stability. There should be no wobbling or movement. Listen for any unusual noises like creaks or rattles that could indicate loose fittings.
4. Integrity of Safety Rails: Double-check the safety rails, particularly on the top bunk. They should be firmly attached without any give. Ensure that they are high enough to prevent falls.
5. Alignment of Ladder: Confirm that the ladder is securely attached and aligned correctly with the bed. It should not move when pressure is applied.
6. Condition of Mattress Supports: Inspect the mattress supports for any sign of weakness or bending. They should be capable of evenly supporting the mattress without sagging.
7. General Inspection for Damages: Look for any cracks, splits, or damage in the wood or metal parts that you might have missed earlier.
8. Space Check Around the Bed: Ensure there's enough clearance around the bed, especially near windows, heaters, or ceiling fans.
Final Thoughts
By following the above steps, you can successfully assemble a sturdy and safe bunk bed that will serve its purpose for years to come. For your bunk bed needs, check out Just Bunk Beds for a wide range of high-quality bunk beds at affordable prices. Remember to always prioritize safety during the assembly process and conduct regular checks to maintain the bed's integrity. Happy sleeping!
 Loading... Please wait...
 Buy Now & Pay Later!